 how-to
How to Mend a Fly Line Step by Step
Table of Contents
- What Mending a Fly Line Actually Does
- How to Mend a Fly Line Step by Step: The Basic Mend
- Upstream Mend Fly Fishing: When and How to Use It
- Downstream Mend Fly Fishing: Controlling the Swing
- How to Mend Line When Fishing Nymphs
- Common Fly Line Mending Mistakes
- Mending in Wind and Mixed Currents
- Practice Drills to Build Muscle Memory
- Frequently Asked Questions
Last Updated: October 15, 2026
What Mending a Fly Line Actually Does
To mend fly line is to reposition it on the water so the current cannot grab it and drag your fly off course. Learning how to mend fly line step by step turns a drifting fly into a drag-free drift fish actually eat.
Your fly sits in one current seam, but your line lies across several others moving at different speeds. The faster water pulls the line, the line pulls the leader, and the fly skate-skips across the surface. Trout rarely chase a skating nymph.
At Smith River Outfitter Raleigh Fly FIshing, new anglers fight this every season and blame their cast. The cast is fine. The line is the problem.
Mending on the Water vs. Repairing a Damaged Line
One distinction trips up a lot of searches. Mending a fly line means repositioning the line already on the water. Repairing a damaged fly line means fixing cracks, nicks, or a cut line with a splice or a new tip. This guide covers the first.
If your line is cracked or fraying, no mend will save your presentation. Replace or repair it first.
How to Mend a Fly Line Step by Step: The Basic Mend
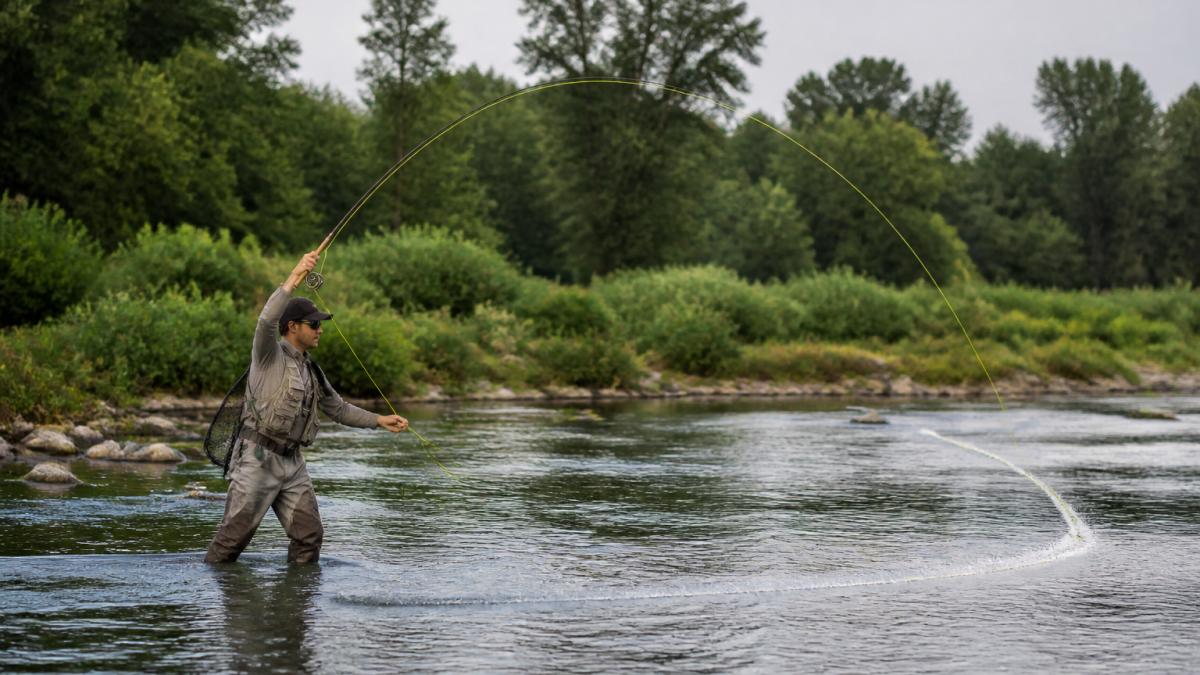
The basic mend is one motion with five checkpoints. Practice until it is automatic.
Checkpoint: You can trace the line from rod tip to fly, and name which current seam it crosses.
Checkpoint: The rod tip is within a foot or two of the water and aimed at the fly, not across the river.
Checkpoint: The line goes slack and the rod tip feels light. Still loaded? You lifted too little. Line airborne? Too much.
Checkpoint: A visible loop leaves the water, travels a short distance, and lands without a splash.
Checkpoint: The line lies in a shallow curve or S, with slack between you and the fly, not behind it.
That flip throws slack onto the water.
Timing matters more than power. Mending too late is the common mistake: once the line is tight and the fly drags, the damage is done.
How much line to roll. Inside 20 feet, a loop of a foot or two is enough.
What the mend should feel like. The rod tip does the work; your forearm stays quiet. If your shoulder moves, you are casting, not mending.
Symptom check after the mend. Fly drags immediately? The mend went the wrong direction or landed behind the fly. Fly jumps? Loop too big or too fast. Line tangles at the tip? You rolled before unloading in Step 3.
Upstream Mend Fly Fishing: When and How to Use It
An upstream mend fly fishing move places your line above the fly, in faster water, so the current pushes the line back toward you instead of dragging the fly forward. Use it when the fly sits in slow water and the line crosses fast water.
Picture the setup: you stand in a riffle, the fly lands in a soft pocket ten feet ahead, and a tongue of fast water between you will grab your line within seconds.
The fix: as soon as the fly lands, flip a loop of line upstream. The fast water now feeds slack toward the fly rather than pulling it. Your fly drifts drag-free through the pocket.
This is the workhorse mend for dry flies and dry-dropper rigs, and the hardest for beginners because the flip goes against the cast. Practice it in slow water first.
Downstream Mend Fly Fishing: Controlling the Swing
A downstream mend fly fishing move pushes line below the fly. It works when you want the fly to swing, sink, or slow in a seam moving faster than your line.
Wet flies and streamers live here. Cast across and slightly downstream, then mend line below the fly so the current bows the line and the fly swings at a controlled speed.
- Use a downstream mend when the current is faster than your retrieve.
- Use it to slow a swing through a deep run.
- Use it to keep a streamer broadside to holding fish.
The swing should feel steady. If the fly races, you have too little line below it. If the fly stalls, you have too much.
How to Mend Line When Fishing Nymphs
The answer to how to mend line when fishing nymphs is simple: mend more often and in smaller increments. Nymphs drift below the surface, where drag is harder to see but easier to feel.
With an indicator, watch the indicator, not the fly. If it stalls, speeds up, or dips oddly, the line is dragging. Mend immediately.
Three habits separate good nymph anglers:
- Mend right after the cast, before the line settles.
- Mend again at the start of every new current seam.
- Keep the rod tip high and the line mostly off the water.
That last point is the big one. Less line on the water means fewer currents grabbing it.
Common Fly Line Mending Mistakes
Most mending problems show up as one of four symptoms. Work backward from the symptom to the fix.
Symptom 1: The fly drags immediately after the cast
The line went tight before your mend landed. The cause is almost always timing: you mended after the current grabbed the line.
- Fix: Mend the instant the fly lands, before the line settles. If you cannot react that fast, use a reach cast: cast, then reach your rod upstream as the line lands so slack is built in before drag starts.
- Second cause: The mend went downstream when the faster water was upstream. Mend into the faster seam, not away from it.
Symptom 2: The fly jumps or skates when you mend
Your mend moved the fly, not just the line, the loop was too big, the roll too fast, or the rod tip too high.
- Fix: Shrink the loop. Roll less line and keep the rod tip low. The loop should peel off the water, not lift into the air.
- Second cause: You mended after the line was already tight. A tight line transmits the mend straight to the fly. Mend while slack still exists.
Symptom 3: The line catches or tangles at the rod tip
You rolled the loop before the line was unloaded, so it piled up with nowhere to go.
- Fix: Complete Step 3, lift just enough to break tension, before you roll. If the rod tip still feels loaded, lift a little more.
- Second cause: Too much line on the water. Strip in a few feet so you have less line to manage.
Symptom 4: Too much slack forms and you cannot set the hook
You mended too often, too big, or in the wrong place. Slack is only useful between you and the fly, not behind it.
- Fix: Use smaller, more frequent mends instead of one large one. Keep the slack upstream of the fly so it feeds the drift rather than burying the hook set.
- Second cause: You kept mending after the fly entered the target zone. Stop mending once the fly is in the zone and let the drift finish.
| Symptom | Likely Cause | First Fix |
|---|---|---|
| Fly drags right away | Mend too late or wrong direction | Mend on landing; mend into the faster seam |
| Fly jumps on the mend | Loop too big, roll too fast, tip too high | Smaller loop, lower tip, slower roll |
| Line tangles at tip | Line not unloaded before the roll | Complete the tension break first |
| Too much slack, missed hook set | Over-mending or slack behind the fly | Smaller mends; keep slack upstream |
A few more worth naming: a rod tip held too high throws the line off target, mending after the fly passes the target zone is wasted effort, and mending the same way in every current is the classic beginner trap. Read the water first, then pick your mend direction.
Mending in Wind and Mixed Currents
In a headwind, keep your mend low and short, a high flip catches the wind and blows your line off target. In a tailwind, mend harder than usual, because the wind straightens your slack faster than the current will.
Mixed currents are harder. When two seams meet, the line sits in both. Mend toward the faster seam so the slower water stays slack. If the seams are close, use two small mends instead of one big one.
- Headwind: short, low mends.
- Tailwind: firmer mends, more often.
- Cross-current: mend upstream of the fly.
- Braided currents: two small mends beat one big one.
The principle never changes: buy slack in the right place so the wrong current cannot reach your fly.
Practice Drills to Build Muscle Memory
You can build a solid mend in an afternoon on a lawn or slow water. No fish required.
The lawn drill. Lay a length of fly line on grass and practice flipping loops left and right with a wrist roll, aiming for a clean arc every time. Ten minutes a day for a week beats one long session.
The yarn drill. Tie a small piece of yarn to your leader and cast to a target on the water. Mend immediately after the fly lands. If the yarn drags, your mend was late or in the wrong direction.
The seam drill. Pick a visible seam line, cast across it, and mend every time the line crosses a new current. Count your mends, most beginners need twice as many as they think.
Success criteria: your fly drifts at the same speed as the bubbles or foam around it for at least ten feet. Three casts in a row means your mend is working.
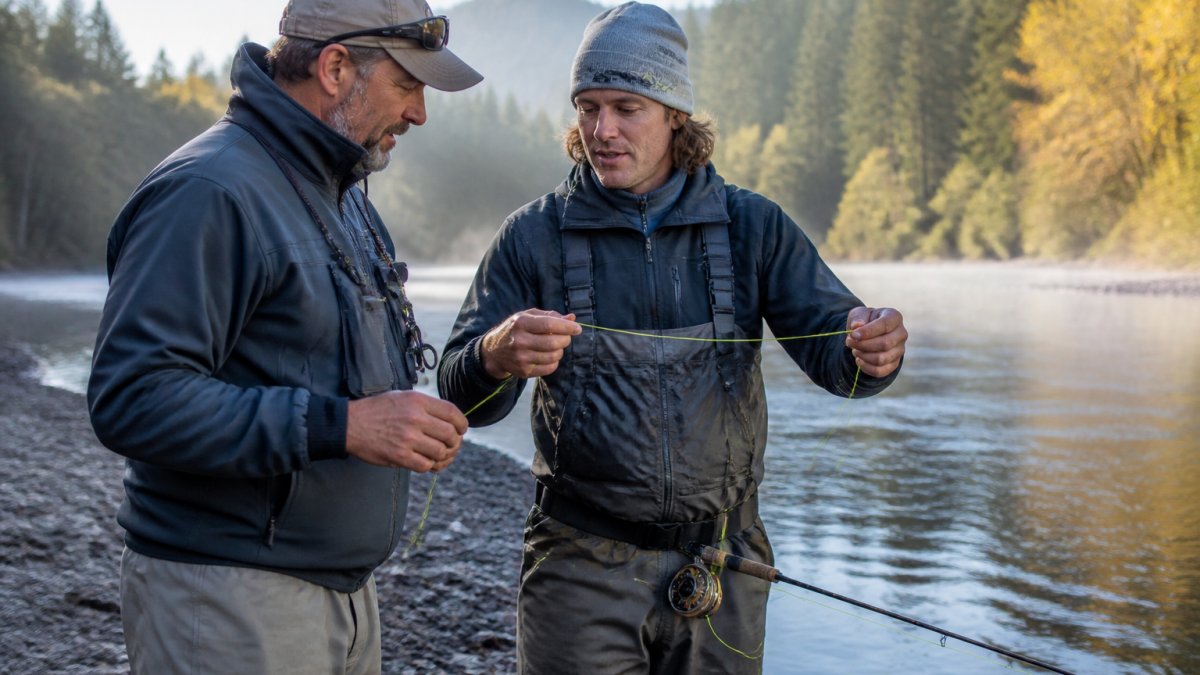
Reading water and mending line separate a frustrating day from a productive one, and both are easier to learn with someone beside you pointing out the seams.
Frequently Asked Questions
What does mending a fly line mean?
Mending a fly line means repositioning the line on the water after the cast so the current affects it differently. Without a mend, the line drags the fly downstream faster than the natural current, creating unnatural movement. A mend puts slack or a different angle into the line so the fly drifts at the same speed as the water. The goal is a drag-free drift, which is when the fly moves naturally without being pulled by the line.
Which direction should you mend a fly line?
Mend upstream when the line sits in slower water than the fly, because the slow current will drag the fly back. Mend downstream when the line sits in faster water, since the fast current will pull the fly forward. The rule is simple: mend against the direction the line is dragging. Watch the line where it crosses current seams, and mend in the opposite direction of the unwanted pull.
How do you mend a fly line without moving the fly?
Lift the line off the water with a smooth rod-tip motion before you flip it into the new position. Keep the rod tip low and use a small circular or side-to-side movement so the mend travels down the line without jerking the leader. Leave a small amount of slack between the rod tip and the fly. If the fly twitches, you are mending too hard or lifting too much line at once.
How do you mend fly line when fishing nymphs?
Nymph fishing usually requires more frequent mends than dry fly fishing because the indicator or line must stay ahead of the fly at the same speed. Cast slightly upstream of the fish, then make a series of small upstream mends as the rig drifts toward you. Keep the rod tip high and follow the drift with the rod. If the indicator stalls or races, mend immediately to correct the line position.